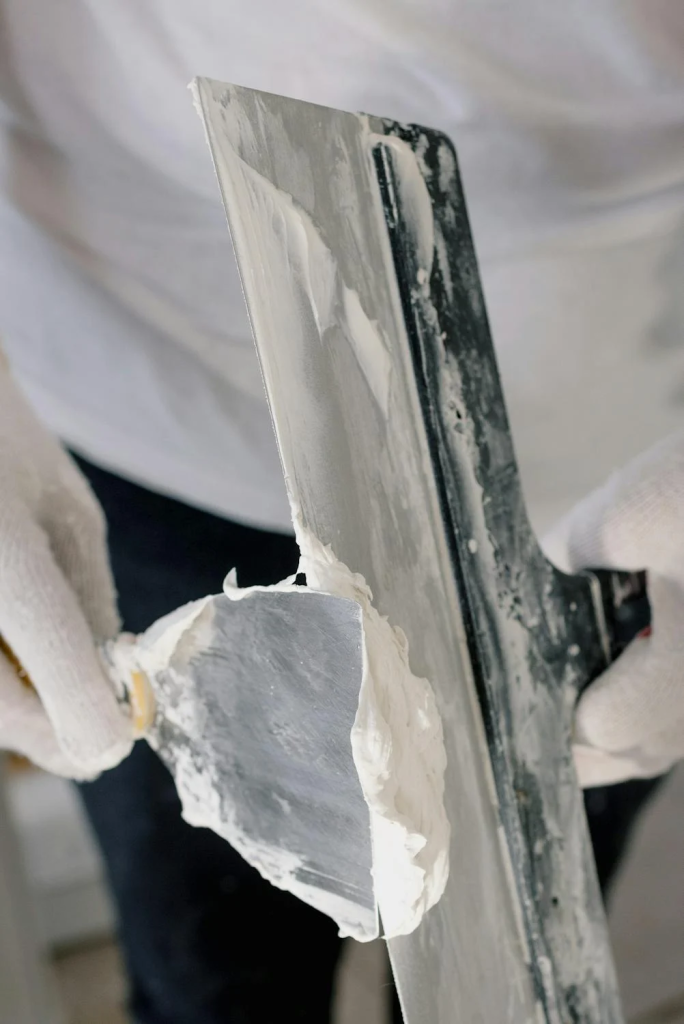
Plaster walls are a durable and attractive feature in many homes, but over time, they can develop cracks, dents, and holes due to regular wear and tear.

Learning how to DIY plaster wall repair ensures you can restore your walls efficiently without hiring a professional. By following the correct steps and using the right materials, you can achieve a smooth and seamless finish.
This guide will walk you through plaster repair, providing easy-to-follow steps and practical tips for a successful repair.
Step 1: Gather The Necessary Materials And Tools
Before you start repairing your plaster wall, ensure you have all the required materials and tools ready. This will make the process smoother and help you achieve professional-looking results.
Essential Tools
- Putty knife or plastering trowel – for applying and smoothing the plaster
- Utility knife – to remove loose plaster and clean damaged areas
- Sandpaper (medium and fine-grit) – to smooth out the surface
- Drop cloths or plastic sheets – to protect floors and furniture from dust and debris
- Painter’s tape – to shield adjacent surfaces
Required Materials
- Plaster patching compound – for small repairs
- Joint compound – for larger cracks and holes
- Plaster bonding agent – to ensure adhesion for larger repairs
- Plaster repair mesh – to reinforce weak or large damaged areas
- Primer and paint – for a final finish if repainting is needed
Step 2: Prepare The Damaged Area
Proper preparation is crucial to achieving a strong and long-lasting repair.
- Protect Your Workspace
- Lay down drop cloths or plastic sheets to catch any dust or debris.
- Use painter’s tape to cover areas that should not be affected.
- Clean the Damaged Area
- Use a utility knife to remove loose plaster or debris from the damaged section.
- If there are cracks, widen them slightly with the knife to create a clean surface for the patching compound to adhere to.
- Apply a Plaster Bonding Agent (For Large Repairs)
- If repairing a large section, brush or roll a plaster bonding agent over the damaged area.
- Let it dry as per the manufacturer’s instructions before applying plaster.
Step 3: Apply Plaster Patching Compound
Applying the correct technique ensures a strong and smooth repair.
For Small Cracks And Holes
- Use a putty knife to apply the plaster patching compound directly into the crack or hole.
- Spread the compound evenly, ensuring it fills the damaged area completely.
- Scrape off excess compound to create a level surface with the rest of the wall.
For Large Holes And Extensive Damage
- Install Plaster Repair Mesh
- Cut a piece of mesh slightly larger than the hole and press it over the opening.
- This prevents future cracks and reinforces the repaired section.
- Apply the First Layer of Plaster
- Spread a thin layer of plaster patching compound over the mesh using a trowel.
- Feather the edges outward to blend the repair into the surrounding wall.
- Apply Additional Layers if Needed
- If the hole is deep, apply multiple thin layers rather than one thick layer.
- Allow each layer to dry before applying the next.
Step 4: Smooth And Sand The Repaired Area
Once the plaster has dried, sanding is necessary to achieve a flawless surface.
- Start with Medium-Grit Sandpaper
- Lightly sand the repaired area to remove any rough patches.
- Use circular motions to blend the edges into the surrounding wall.
- Finish with Fine-Grit Sandpaper
- Smooth out any remaining imperfections.
- Run your hand over the area to check for any uneven spots.
Step 5: Prime And Paint The Wall (Optional)
To match the repaired section with the rest of the wall, apply primer and paint.
- Apply a Coat of Primer
- Use a high-quality primer to ensure the plaster patch blends well with the existing surface.
- Allow the primer to dry completely.
- Paint the Wall
- Use the same paint colour as the rest of the wall for a seamless look.
- Apply at least two coats, allowing each coat to dry before adding the next.
Tips For A Perfect Plaster Wall Repair
To achieve professional results, follow these helpful tips.
Use Thin Layers For A Stronger Finish
- Applying multiple thin layers of plaster instead of one thick layer prevents cracking and allows for better adhesion.
Work With The Right Tools
- A good-quality putty knife or trowel makes the job easier and ensures a smoother finish.
- Keep your tools clean to prevent dried plaster from affecting application.
Let The Plaster Dry Properly
- Avoid rushing the drying process. Drying times vary depending on the compound used, but most require at least 24 hours before sanding.
Blend The Repair Into The Wall
- Feathering the plaster outward from the damaged area helps it blend seamlessly into the surrounding wall.
Use A Damp Sponge For A Smooth Finish
- Instead of excessive sanding, use a damp sponge to smooth the plaster before it fully dries.
- This reduces dust and helps create a seamless transition.
Frequently Asked Questions
How Long Should I Wait Before Sanding A Plaster Repair?
Most plaster patching compounds dry within 24 hours, but drying times can vary depending on humidity and the thickness of the layers. It is best to wait until the surface is completely dry before sanding to avoid cracking or peeling.
Can I Paint Over A Plaster Repair Immediately?
No, you should always prime the repaired area before painting. Plaster is porous, and without primer, the paint may appear uneven or absorb differently compared to the rest of the wall.
What Is The Best Way To Prevent Plaster Cracks From Reappearing?
To prevent future cracks, use plaster repair mesh for reinforcement and apply thin layers of plaster instead of thick coats. Additionally, ensure your home has proper humidity control, as excessive moisture can weaken plaster over time.
